
Reviewed · HISTORICAL TOURS
Sydney Photography Course in the Historic Rocks Area
Better photos start with one good walk.
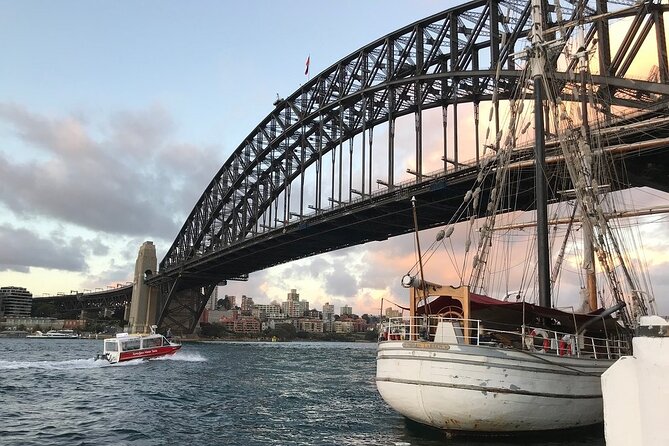
This Sydney photography course turns the historic laneways of The Rocks into a hands-on classroom, with shooting stops built around classic views like the Harbour Bridge and Sydney Opera House. You’ll get a professional photographer guide who helps you use your camera in manual mode, so you’re not guessing when the light changes.
I especially like that the instruction is practical, not theory. With guide Alfonso Calero, you get clear advice on composition and real control over exposure and shutter speed, plus course notes to take home. And because the class is capped at 10 travelers, you get more attention than you’d expect from a typical sightseeing group.
One thing to consider: this experience needs good weather, and you’ll bring your own camera. If you’re hoping for a relaxed walk with zero technical focus, this may feel more like guided practice than casual roaming.
In This Review
- Key highlights worth planning for
- Why The Rocks makes a smart classroom for photography
- Manual mode help that actually maps to real photos
- How the course moves through The Rocks and the photo targets
- Harbour Bridge and Opera House views: learning the “light problem”
- Afternoon vs nighttime class: choose based on your photo goals
- Small-group attention: why max 10 actually changes your results
- Price and value: what €154 buys you in real terms
- Practical tips so you get the most from the session
- Should you book this Sydney photography course?
- FAQ
- What does the course cost and how long is it?
- Do I need to bring my own camera?
- How many people are in a group?
- Where is the meeting point?
- Is food included?
- Can I cancel for a full refund?
Key highlights worth planning for
- Manual-mode coaching so you can stop letting the camera decide for you
- Alfonso Calero Photography instruction plus course notes you can reference later
- Small group (max 10) for more feedback while you shoot
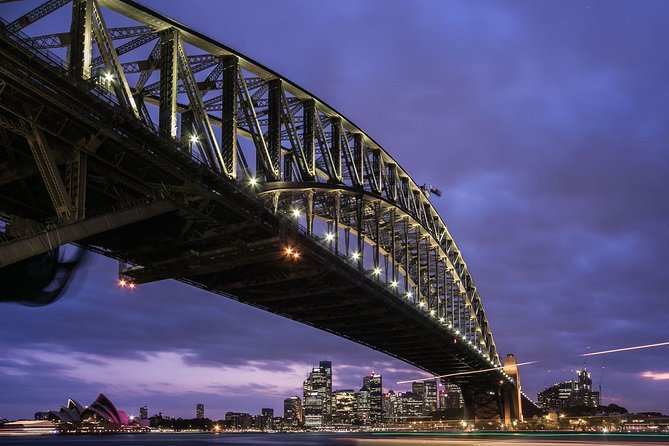
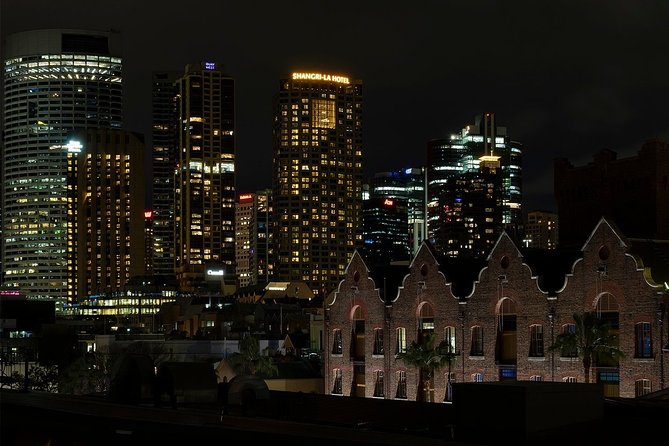
- Photo targets around The Rocks: Harbour Bridge, Opera House, and sandstone buildings
- Afternoon or nighttime options so you can match your lighting goals
Why The Rocks makes a smart classroom for photography
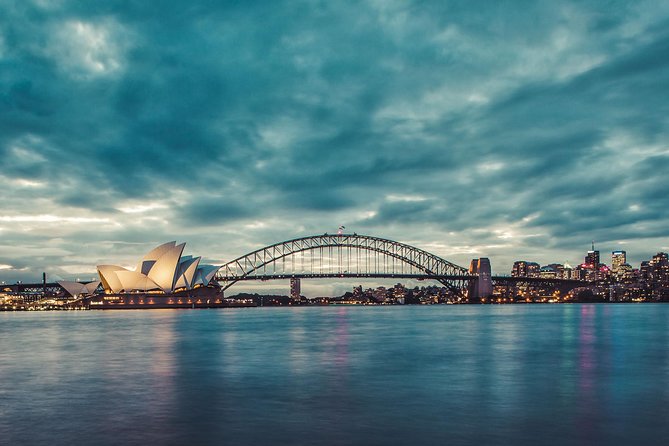
The Rocks is a photographer’s favorite kind of place to learn: lots of texture, lots of angles, and plenty of “this is exactly what I mean” moments. You’ll be working in an area packed with historic sandstone buildings and narrow lanes that naturally create strong composition options—lines, layers, and close-up details that still connect back to bigger landmarks.
What makes it useful for a course is how quickly you can see results. You adjust one setting, you move a few steps, and the scene changes. That’s the fastest way to build confidence with manual mode: not by memorizing numbers, but by watching your choices affect the final image.
Another plus is the mix of subjects. You’re not stuck shooting only buildings or only views. The session is designed to take you to vantage points for big Sydney icons while also giving you room to practice street-level framing in The Rocks itself. That range helps you learn transferable skills—how to expose for bright sky, how to keep buildings sharp, and how to create a pleasing relationship between foreground and background.
Worth lining up next to this Sydney pick:
- Sydney: The Rocks 90-Minute History Walking Tour
★ 4.7 · 1,092 reviews - Sydney The Rocks Historical Pub Tour
★ 5.0 · 251 reviews - Sydney Convicts, History & The Rocks 2.5-Hour Walking Tour
★ 4.9 · 181 reviews - Historical True Crime Walking Tour of East Sydney
★ 5.0 · 53 reviews
Manual mode help that actually maps to real photos
This class isn’t “here are some settings” and good luck. The guidance is aimed at camera control you can use immediately, especially if you feel like your camera’s auto modes never quite match what you see.
Here’s what you can expect to focus on:
- Composition tips: where to stand, what to include (and what to leave out), and how to guide the viewer’s eye
- Exposure advice: how to balance light when shadows and highlights are both doing their thing
- Shutter speed guidance: how to control motion and reduce blur when the scene is busy or handheld
- Practical manual-mode coaching: getting comfortable adjusting settings intentionally rather than randomly
The biggest value here is the feedback loop. Instead of shooting 300 random frames and hoping one works, you’ll get prompted to experiment. Then your guide can help you understand what changed—so the next adjustment is smarter.
If you’re using a digital camera (the course asks you to bring your own), this is also a good chance to learn your specific camera’s manual behavior—how the meter reacts, what “correct exposure” really looks like in bright Harbour light, and how your choices affect the look of the scene.
How the course moves through The Rocks and the photo targets
The session starts at Kendall Lane, The Rocks NSW 2000, and it ends back at the meeting point. In between, you’ll spend time in The Rocks as your main shooting area, moving toward viewpoints where Sydney’s landmarks show up naturally.
Stop 1 is The Rocks—that’s the core practice zone. This is where you can work on street-level composition and learn to manage tricky lighting. Historic buildings often create partial shade and bright patches, so you’ll likely test different exposure approaches while you frame sandstone facades, laneway textures, and architectural details.
Stop 2 is listed as Sydney Photography Tours, which signals a structured point in the experience where the tour team coordinates the flow of the session. Even if you don’t know what that stop looks like ahead of time, you can think of this part as the moment where lessons and shooting time stay organized, so you’re not left figuring things out on your own.
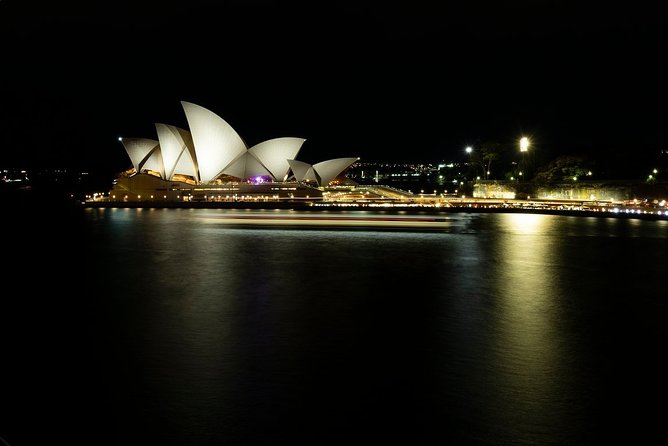
Throughout, the goal is clear: you’ll be taken to strong photo ops—including perspectives featuring Sydney Harbour Bridge and Sydney Opera House—without treating the class like a long transfer day. The course is built so you can learn while you move, not learn once you’re exhausted at the end.
Harbour Bridge and Opera House views: learning the “light problem”
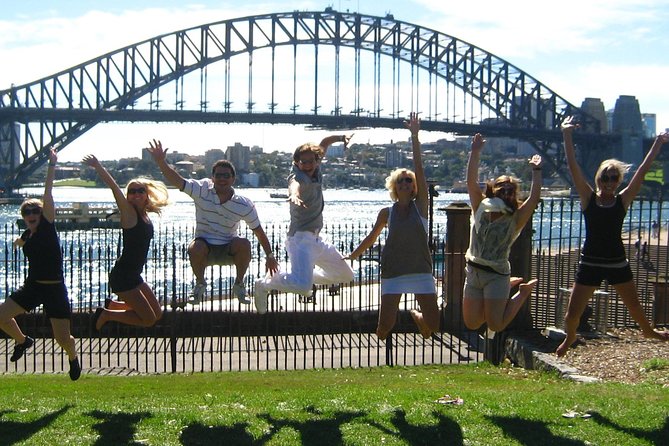
Iconic views are fun. They’re also hard, because the light can flip fast—especially when you’re balancing bright sky, reflections, and high-contrast landmarks.
That’s exactly why the course includes exposure and shutter speed instruction. When you aim at something like the Harbour Bridge, you often run into a few common challenges:
- Highlights blow out in bright sky if exposure is too high
- Shadows go muddy if exposure is too low
- Handheld blur can sneak in if you’re using slower shutter speeds
- Framing gets busy, since landmark views can include lots of background elements
The guide’s job is to help you translate the scene into camera choices. Instead of shooting and hoping, you’ll learn how to set up your frame and then adjust settings based on the lighting you see—not on what the camera guesses.
And because you’re also spending time in the laneways of The Rocks, you’re not only practicing big views. You’re learning to switch between close composition and long framing—two different skills that make a huge difference in your next trip’s photos.
Afternoon vs nighttime class: choose based on your photo goals
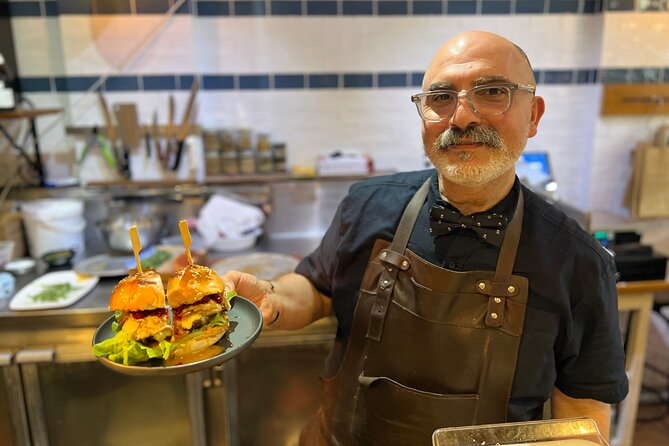
You can choose an afternoon or nighttime class, and that matters more than people think.
Afternoon sessions tend to be better for:
- Easier visibility while you frame in the laneways
- Practicing exposure in daylight with fewer extreme lighting shifts
- Building confidence with manual settings without the added stress of night conditions
Nighttime sessions tend to be better for:
- Learning how to handle darker scenes
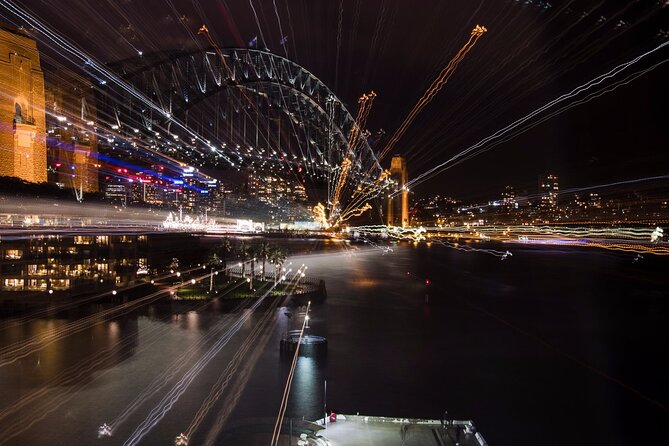
- Practicing shutter speed choices when motion and blur become part of the creative look
- Working with light sources and contrast, especially around landmark views
The course itself requires good weather, so nighttime plans are only as good as the sky and light conditions. If you’re the type who likes control and planning, an afternoon session can reduce variables. If you want cinematic light and you’re okay with more technical challenge, go nighttime.
Either way, you’ll still be learning the same core skills: composition, exposure, and shutter speed—just applied in different lighting moods.
Worth lining up next to this Sydney pick:
Small-group attention: why max 10 actually changes your results
The experience caps at 10 travelers, and you’ll feel that in the teaching style. In a large group, guides can explain concepts but they can’t correct technique quickly. In a small group, you can:
- Ask direct questions when something doesn’t make sense
- Try an adjustment, then get feedback immediately
- Move from one shooting target to the next without losing your place
The course also includes course notes, which is underrated. When you’re out shooting, you hear advice in the moment. Notes let you reinforce it later so it sticks for your next photo walk.
Also, this is a mobile-ticket experience. That matters because you can focus on the day instead of paperwork. Just make sure your camera is ready and charged before you go—because the course asks you to bring your own camera.
Price and value: what €154 buys you in real terms
At €154 for about 2 hours 30 minutes, this is not a bargain “tour only.” It’s a skill-based session with a professional photographer guide, course notes, and structured shooting time.
So is it good value? Yes—if you fit the sweet spot:
- You want to learn manual mode in a guided way
- You’re interested in better photos of specific Sydney icons
- You want hands-on practice rather than generic sightseeing
The price also makes sense when you compare what you’d pay for individual instruction. Here, you’re paying for coaching time plus curated shooting locations in one compact block. You’re also not paying extra for food or transfers; those are simply not included, which keeps the core experience focused.
If you’re already fully comfortable on manual settings and just want landmark pictures with no learning component, you might feel the cost more than the value. But if you’re still wrestling with exposure, shutter speed, or composition, this course can quickly pay back in your future travel photos.
Practical tips so you get the most from the session
To keep things smooth, I’d plan around these basics:
- Bring your own camera (and any basics you need to use manual mode confidently)
- Charge batteries and consider an extra memory card slot or two
- Wear comfortable shoes. The session includes moving around The Rocks to photo vantage points
- If you’re unsure about your settings, arrive ready to learn. The class is built for hands-on trial and adjustment
You’re also near public transportation, which helps if you want to combine this with other things in Sydney without long detours. Service animals are allowed too, so you won’t have to stress about that.
And one more reality check: because the experience requires good weather, having a flexible mindset helps. If conditions aren’t right, you’ll be offered another date or a refund.
Should you book this Sydney photography course?
Book it if you want structured learning in one of the most photogenic parts of Sydney, with time spent on both The Rocks laneway scenes and landmark views like Sydney Harbour Bridge and Sydney Opera House. The big selling point is the coaching focus—manual mode control, exposure, and shutter speed—paired with a small-group size and notes to reinforce what you learn.
Skip it if you only want casual photos with no technical instruction, or if you rely on others entirely to handle settings. This experience rewards curiosity and willingness to experiment, not passive watching.
If you’re aiming to come home with noticeably better images—and understand why they work—this is the kind of short, focused class that can change your camera habits fast.
FAQ
What does the course cost and how long is it?
The course is priced at €154 and runs for about 2 hours 30 minutes.
Do I need to bring my own camera?
Yes. You’re asked to bring your own camera so you can practice during the session.
How many people are in a group?
The experience has a maximum of 10 travelers, which keeps it small-group focused.
Where is the meeting point?
You start at Kendall Lane, The Rocks NSW 2000, Australia, and the activity ends back at the same meeting point.
Is food included?
No. Food and drinks are not included.
Can I cancel for a full refund?
Yes. You can cancel for a full refund if you cancel at least 24 hours in advance. Free cancellation is offered, but less than 24 hours before the start time is not refunded.
More Photography Sessions in Sydney
More Historical Tours in Sydney
More Tour Reviews in Sydney
- Blue Mountains Small-Group Tour from Sydney with Scenic World,Sydney Zoo & Ferry
★ 5.0 · 3,709 reviews

Fresh off the jetty: more Sydney reviews

Historical Tours, compared.
 ★ 4.7The Rocks 90-Minute History Walking TourFrom $321,092 reviews
 ★ 5.0Sydney The Rocks Historical Pub TourFrom $82251 reviews
 ★ 4.9Sydney Convicts, History & The Rocks 2.5-Hour Walking TourFrom $36181 reviews
 ★ 5.0Historical True Crime Walking Tour of East SydneyFrom $2453 reviews
 ★ 5.0Private Tour in Sydney to Bondi and Historical SiteFrom $61050 reviews
 ★ 4.6Sydney Historical Walking Tour including The RocksFrom $3120 reviews
 ★ 5.0Sydney Private Half Day Tour: Beaches, History & IconsFrom $25419 reviews
 ★ 5.0Historic Walking Tour of GlebeFrom $2815 reviews
Browse the lists this tour appears in