
Reviewed · JERVIS BAY DAY TRIPS
Jervis Bay, Kiama & Kangaroo Valley Day Trip From Sydney-PVT
Coast and waterfalls, packed into one long day. A Jervis Bay–Kiama Blowhole combo is a great way to see NSW in a hurry, and the private setup means your guide can keep things moving with real commentary instead of just handing you a ticket. If you get a guide like Pranshu or Chirag, the day can feel thoughtfully managed, with photo help and extra care for slower family members.
One catch to plan for: the optional dolphin cruise can squeeze the schedule, and the day can run less guided than you hope. Some people report a more driver-like experience, and if key stops like Fitzroy Falls or Kangaroo Valley are a must for you, it’s worth confirming what will fit once you choose the cruise.
In This Review
- Key things that make this day trip work
- The 11-hour coast-to-country rhythm (and why it feels efficient)
- Pickup, private car comfort, and timing you should keep an eye on
- Jervis Bay: powder-sand views at Huskisson (and marine-life chances)
- Optional dolphin cruise at Jervis Bay: worth it, but choose wisely
- Kiama Blowhole: the geology stop built for big reactions
- Kangaroo Valley and Hampden Bridge: a quieter inland pause
- Fitzroy Falls in Morton National Park: waterfall views with short walks
- Grand Pacific Drive and Sea Cliff Bridge: the ocean view while you drive
- Bald Hill Lookout: your final wide view before heading back
- Price and value: what you’re paying for at $353 per person
- Who should book this tour (and who might want a different option)
- Should you book this Jervis Bay, Kiama & Kangaroo Valley day trip?
Key things that make this day trip work
- Private car with hotel pickup and drop-off, plus Wi‑Fi and bottled water to keep the day smooth
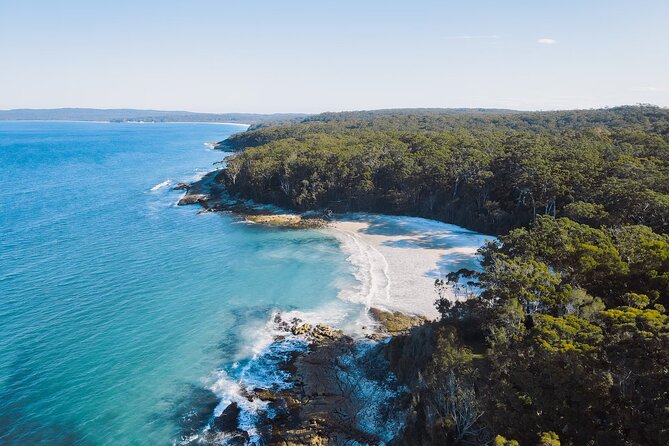
- Jervis Bay time for beach views and a marina lunch stop at Huskisson (lunch isn’t included)
- Kiama Blowhole for a dramatic natural spectacle and serious photo angles
- Kangaroo Valley + Hampden Bridge, a calm inland break with a famous wooden suspension bridge
- Fitzroy Falls at Morton National Park, with short walks and multiple lookouts
- Grand Pacific Drive + Sea Cliff Bridge, a classic ocean-above-the-roads driving moment
The 11-hour coast-to-country rhythm (and why it feels efficient)
This is one of those trips that’s built for people who want big variety without juggling trains, car rentals, and schedules. You start early—departing Sydney at 8:00 AM—and you’re back around 7:00 PM, so the day is long but not confusing.
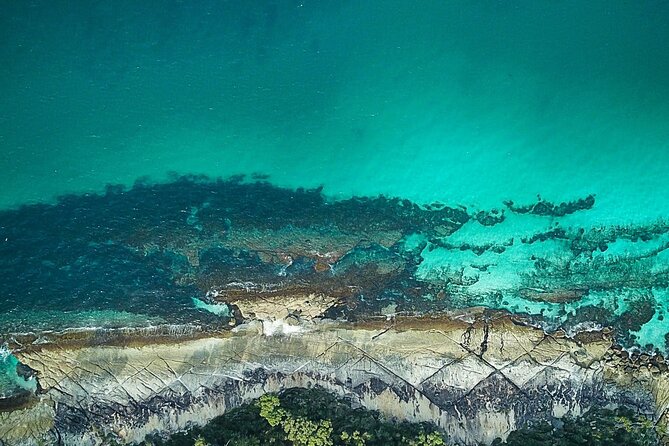
What makes it work is the pacing: you get coastal drama (Kiama, Jervis Bay, Sea Cliff Bridge), then a calmer inland reset (Kangaroo Valley), then a standout waterfall (Fitzroy Falls). Done right, that order makes sense. You’re fresh for the views, you cool off with shaded natural spots, and then you finish with more ocean viewpoints on the return.
More white sand down at Jervis Bay
- Jervis Bay Tour with Dolphins, Kangaroos & World’s Whitest Beach
★ 4.5 · 76 reviews - Jervis Bay Highlights Tour – Small Group Experience Scenic Coast
★ 5.0 · 27 reviews - Sydney: Jervis Bay & South Coast Small Group
★ 5.0 · 19 reviews - Jervis Bay, Kiama & Kangaroo Valley Day Trip From Sydney-PVT
★ 3.8 · 10 reviews
Pickup, private car comfort, and timing you should keep an eye on
You’ll be picked up and dropped off at Sydney Olympic Park. It’s a private group, so you’re not playing musical chairs with strangers or waiting for extra people at multiple hotels.
The included comfort perks are small but useful: Wi‑Fi on board and bottled water. Still, one practical reality matters: cars can run hot. If weather sensitivity is a thing for you, bring whatever helps you stay comfortable, because you may be spending a lot of time in the vehicle.
The other timing factor is the “fit.” The tour includes several stops, but it also warns that adding the dolphin cruise can require you to omit either Fitzroy Falls and Kangaroo Valley or the Stanwell Tops/Bald Hill Lookout and the Sea Cliff Bridge from the plan. In other words: you’re choosing your emphasis.
Jervis Bay: powder-sand views at Huskisson (and marine-life chances)
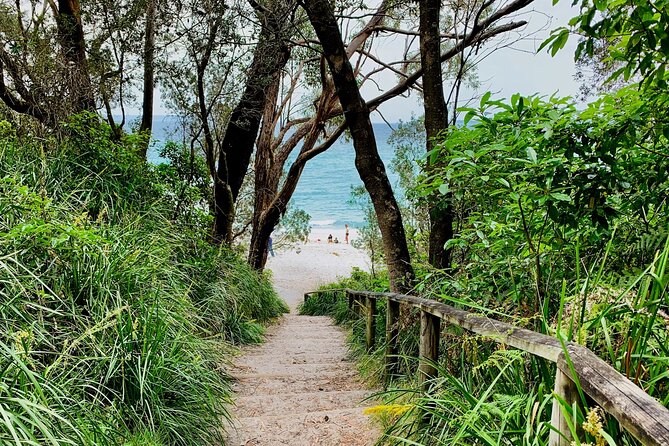
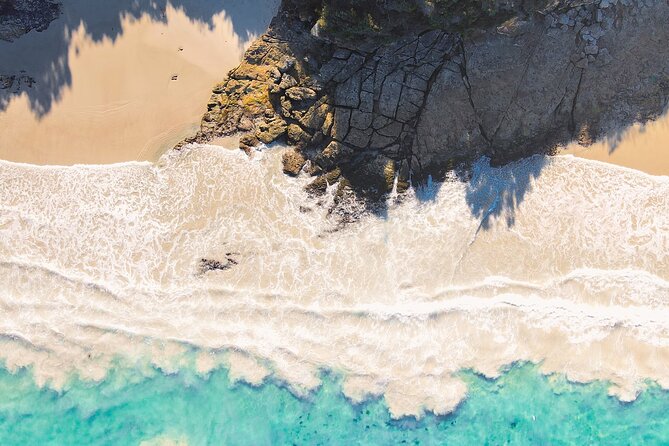
Jervis Bay is the centerpiece for a reason. It’s an oceanic bay of about 102 square kilometres in the Jervis Bay Territory, and the day gives you 1.5 hours there.
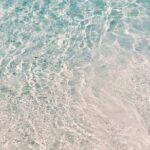
You’ll head to Huskisson for a lunch stop by the marina (about 45 minutes), then you’ll have time for the bay’s coastal atmosphere. Jervis Bay is known for its powder-white sandy beaches and marine life, and you’ll be close enough to feel the scale of the water without needing to hike.
If you’re the type who likes to do one scenic thing well, this portion is strong. It’s not a rushed “see it and run” stop. It’s more like: arrive, reset, eat, then decide if you want to go farther out on the water.
Optional dolphin cruise at Jervis Bay: worth it, but choose wisely
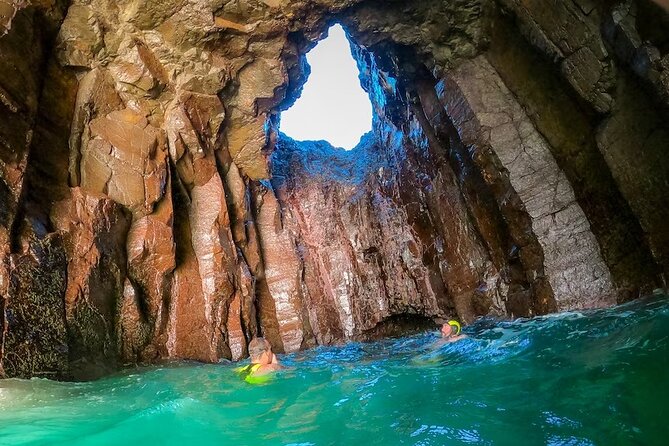
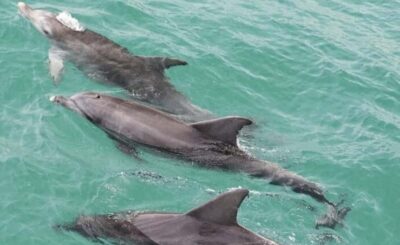
There’s an optional dolphin-watching cruise out of the Jervis Bay area, and it’s priced at AU$65 per person extra. The cruise time is about 1.5 hours, so it’s not a quick add-on—it’s a real chunk of the day.
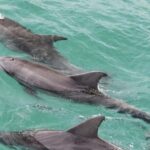
If you go, you get the chance to see dolphins in their natural habitat, and in the right season you might spot migrating whales. The boat setup is geared for wildlife viewing and photography, with plenty of space to shoot from different angles.
The trade-off is timing. The tour notes that including the cruise may force you to skip either:
- Fitzroy Falls and Kangaroo Valley, or
- Stanwell Tops/Bald Hill Lookout and the Sea Cliff Bridge segment
So here’s my practical way to decide: if waterfalls and inland views are your priority, you may prefer to keep the cruise off your schedule. If marine wildlife is the main reason you booked, add the cruise and accept that you’re trading time away from another highlight.
Kiama Blowhole: the geology stop built for big reactions
Next up is Kiama and the Kiama Blowhole, where you’ll spend about 45 minutes. This is one of those attractions where the spectacle comes from nature doing its thing—watch for water spray that can reach up to 30 metres under the right conditions.
The geology angle is part of why it’s interesting: the blowhole formed from basalt lava flows over 260 million years ago. Even if you don’t care about the science, it helps you understand what you’re looking at—this isn’t a gimmick. It’s a natural feature, and the coast around it sets the stage.
This stop also tends to work well for all travel speeds. You can linger for photos, then step back to watch the waves cycle through. It’s also a nice change from driving, since you get a concentrated, short walk-with-views moment.
More koalas, roos and harbour-view enclosures

Kangaroo Valley and Hampden Bridge: a quieter inland pause
After Kiama, the route shifts inland to Kangaroo Valley, with about 1 hour of scenic time on the way in. Expect rolling hills and lush greenery, plus a village feel that slows your pace after the coastline stops.
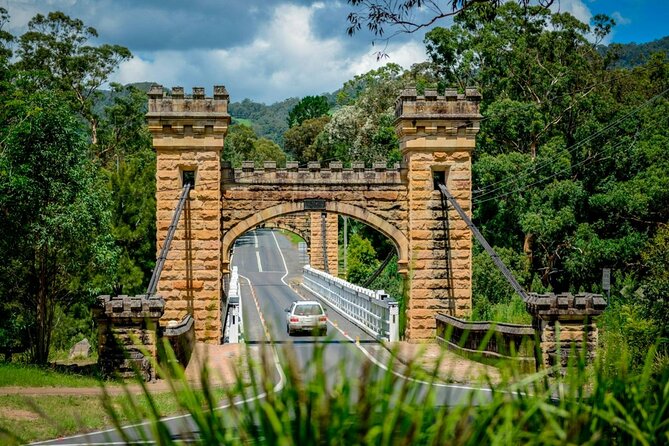
A key moment here is Hampden Bridge, described as Australia’s last surviving wooden suspension bridge. The bridge itself is the kind of photo subject that also rewards a short stop: you can see the structure clearly, watch vehicles pass, and take in the valley backdrop.
If you enjoy “in-between” places—those rural stretches where you can breathe—Kangaroo Valley is a strong counterweight to the more dramatic coastal stops.
Fitzroy Falls in Morton National Park: waterfall views with short walks
Fitzroy Falls is the day’s nature big hitter, with an 81-metre waterfall inside Morton National Park. You’re scheduled for about 30 minutes at this stop, which sounds short, but it’s built around quick viewing options.
You’ll have access to lookout points, plus easy walking trails that lead you to the Fitzroy Falls Lookout area. For context, there’s a Fitzroy Falls Visitor Centre nearby, with exhibits about the region’s flora and fauna, plus local history.
This is where the “guided vs driver-led” difference can really show up. If your guide gives you good pointers—where to stand, what sightline matches the waterfall best—you’ll get more out of those 30 minutes. If not, you can still make it work, but you might feel like you’re timing your own visit.
Important: if you add the dolphin cruise, the tour may require you to skip Fitzroy Falls and Kangaroo Valley. If waterfalls are why you booked, think twice before adding the cruise.
Grand Pacific Drive and Sea Cliff Bridge: the ocean view while you drive
On the return, you’ll take Grand Pacific Drive, famous for spectacular coastal views. This is the part of the trip where the journey feels like the attraction, not just a commute.
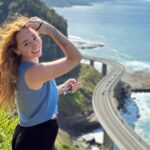
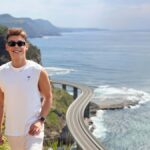
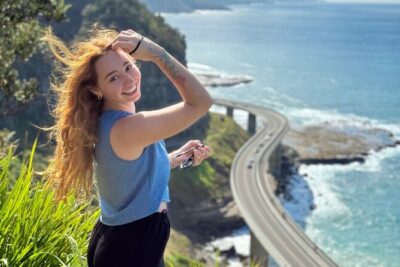
The headline here is the Sea Cliff Bridge. It stretches over the ocean, giving panoramic views of the coastline below. It’s also been featured in films and car commercials, which makes it feel extra cinematic when you’re actually crossing it.
One practical note: this bridge segment can also be cut if the schedule shifts for the dolphin cruise. If you want that iconic “road above water” experience, prioritize it early in your planning.
Bald Hill Lookout: your final wide view before heading back
To end the sightseeing block, you’ll make a brief stop at Bald Hill Lookout. You’ll get sweeping views over the Illawarra region, which makes it a good “last panoramic” moment before the return drive.
This stop is scheduled for about 30 minutes, so it’s enough time to step out, look around, and take photos without turning into a long detour.
Like the Sea Cliff Bridge, this lookout may be omitted depending on which optional elements you choose for the day.
Price and value: what you’re paying for at $353 per person
At $353 per person for an 11-hour private day trip, you’re not paying for just sightseeing. You’re paying for convenience, time savings, and a single-car flow that connects multiple regions in one day.
Here’s what that value looks like in practice:
- You get hotel pickup and drop-off (no public-transport math).
- You get a private professional driver/guide and private car (less waiting, less confusion).
- You get included small perks like Wi‑Fi on board and bottled water.
- You’re covering multiple major stops without having to coordinate separate tours.
The main “value risk” isn’t the price—it’s whether you’ll get the kind of guiding you expected. People who feel the guide was more of a driver than a storyteller may end up doing extra self-guided figuring out on the fly. On the other hand, when the guide is hands-on, this kind of route can feel like you’re seeing more than the sum of the parts, with tailored adjustments.
If you’re the kind of person who values stories, context, and practical guidance (where to stand, what to prioritize, when to move), this tour can be a great use of money. If you’re happy to be left to your own timing and just follow the car schedule, it’s still good value for the geography covered.
Who should book this tour (and who might want a different option)
This day trip is a good match if you:
- Want coastal + inland + waterfall in a single private day
- Prefer a single vehicle plan over stitching together your own itinerary
- Like photography stops with clear viewpoints: blowhole, lookouts, and bridge views
- Appreciate a guide who can handle different family needs; you may even find guides like Pranshu who focus on comfort and photo moments for seniors
It may be less ideal if you:
- Have one “must-do” stop that you absolutely can’t miss (like Fitzroy Falls), since cruise timing can affect what’s included
- Want deep, consistent interpretation at every stop; some experiences lean more driver-style than guide-style
- Get uncomfortable in a car for long stretches, since time on the road is significant
Should you book this Jervis Bay, Kiama & Kangaroo Valley day trip?
I’d book it if your goal is a smooth, private, coast-to-country hit list from Sydney—especially if Jervis Bay and Kiama are on your mental map. The combination of Jervis Bay time, Kiama Blowhole, and the chance to add a wildlife cruise makes it feel like a “choose-your-own emphasis” day.
Skip the dolphin cruise if you’re fixed on Fitzroy Falls and Kangaroo Valley and you don’t want any schedule trade-offs. If marine wildlife is the main draw, go ahead with the cruise—but accept that you’re likely giving up one of the other big photo segments.
Bottom line: this tour can be memorable when the guiding matches your expectations and when you plan your optional cruise around what you truly want most.
More Tour Reviews in Sydney
- Blue Mountains Small-Group Tour from Sydney with Scenic World,Sydney Zoo & Ferry
★ 5.0 · 3,709 reviews
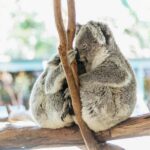
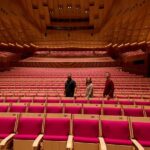
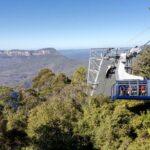
Roos, Koalas & Harbour-View Enclosures
- Blue Mountains Small-Group Tour from Sydney with Scenic World,Sydney Zoo & Ferry
★ 5.0 · 3,709 reviews
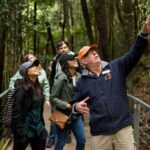

White Sand at Jervis Bay
Fresh off the jetty: more Sydney reviews
Jervis Bay Day Trips, compared.
 ★ 4.5Jervis Bay Day Trip with Dolphins, Roos & Beach TimeFrom $120643 reviews
 ★ 4.5Jervis Bay Tour with Dolphins, Kangaroos & World’s Whitest BeachFrom $12876 reviews
 ★ 5.0Jervis Bay Highlights Tour – Small Group Experience Scenic CoastFrom $17527 reviews
 ★ 5.0Jervis Bay & South Coast Small GroupFrom $15619 reviews
 ★ 4.0Jervis Bay, Kiama & Kangaroo Valley Day Trip From Sydney-PVTFrom $3578 reviews
Browse the lists this tour appears in