
Reviewed · BONDI & COASTAL WALKS
Sydney Icons & Bondi Half Day Private Tour
Four hours, and Sydney clicks into place fast.
This private half-day tour strings together the city’s top landmarks—from The Rocks and the Harbour Bridge to the Opera House and Bondi—so you get the big picture without spending the whole day figuring out logistics. You’ll also get context that makes the stops feel connected, not random.
Two things I’d highlight right away: I love the private guide format. When I’m only with my group, the pace feels right and the stories match what you care about. I also like the photo-friendly routing, with well-timed stops at the Opera House steps and Mrs Macquarie’s Chair that make it easy to get your shots without rushing everyone.
One possible drawback: at $650 per person, this is a premium choice. It makes most sense when you value a dedicated car, pickup from wherever you’re staying, and a tailored plan more than paying for a cheaper group bus.
In This Review
- Key highlights worth planning around
- A private half-day that keeps Sydney from feeling like homework
- The price: what $650 per person is really buying
- Riding the highlights loop: The Rocks, CBD icons, and the harbor-to-Bondi arc
- Stop-by-stop: what each area gives you (and what to watch for)
- The Rocks: convict-era streets and your fast start
- Sydney Harbour Bridge: a quick photo moment that still feels worth it
- Macquarie Street and CBD landmarks: Queen Victoria Building plus cathedral vibes
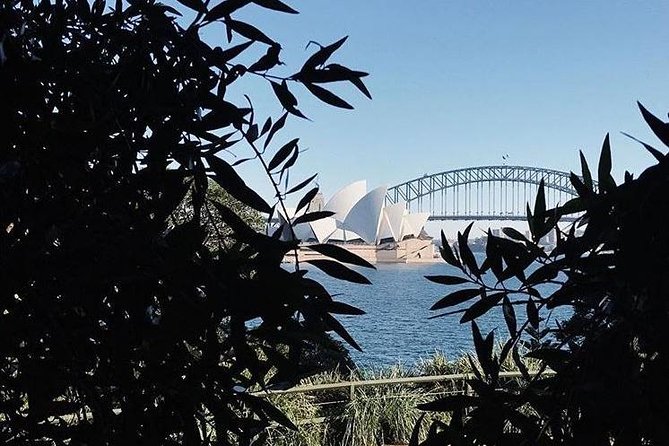
- Sydney Opera House steps: icon views plus that must-do selfie zone
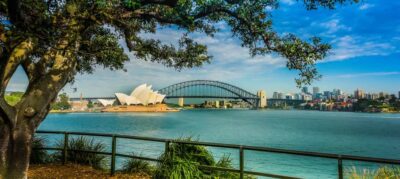
- Mrs Macquarie’s Chair: the harbor view that feels like a postcard
- A bohemian suburb stop: color, character, and quick cultural contrast
- Watsons Bay: a coastal walk that slows everything down
- The Gap Park: huge sandstone cliffs at the harbor’s entrance
- Bondi Beach: toes in the water, coffee and ice cream energy
- The guide makes the difference: Greg and Chris as examples
- Logistics that actually matter: timing, transport comfort, and what to bring
- Who this tour suits best (and who might want a different plan)
- Should you book Sydney Icons & Bondi?
- FAQ
- How long is the Sydney Icons & Bondi Half Day Private Tour?
- Is pickup and drop-off included?
- What stops are included on the tour?
- Do I need to pay for admission at the stops?
- Is food or drinks included?
- Is this a private tour?
- Do you operate in bad weather?
Key highlights worth planning around
- Flexible half-day timing with morning or afternoon departure so you can match your energy and jet lag
- Private pickup and drop-off from your chosen location, plus bottled water and air-conditioned comfort
- Iconic viewpoints built for photos at the Harbour Bridge, Opera House steps, Mrs Macquarie’s Chair, Watsons Bay, and Bondi
- Convict-era to modern city storytelling via The Rocks, plus CBD landmarks along Macquarie Street
- A coastal rhythm that pairs Bondi with Watsons Bay and The Gap for a more complete South Head experience
- Weather-proof planning since the tour operates in all weather conditions (just dress for it)
A private half-day that keeps Sydney from feeling like homework
Sydney can be a lot in one day. The main danger is running around for landmarks you recognize, but not really understanding what you’re looking at. This tour fixes that by acting like a guided timeline: you start in the older streets of The Rocks, then move through the CBD icons, and finally swing out to the harbor views and the Bondi coastline.
The private format matters. With only your group, you’re not trying to keep up with strangers or negotiate where you want to spend a little more time. The guide can also tailor the flow to your interests, which is a big deal when you’re short on time. I especially like that you’re not locked into a rigid plan—there’s flexibility built in.
It’s also practical that you’re in a late-model air-conditioned vehicle with bottled water. That’s not flashy, but in Sydney weather (or if you’re arriving after travel), comfort is what lets you actually enjoy the views when you finally get there.
More of the cliff path heading south from Bondi
- Bondi Beach: 2-Hour Surf Lesson Experience for Any Level
★ 4.9 · 935 reviews - Surfing Lessons on Sydney’s Bondi Beach
★ 5.0 · 267 reviews - Sydney Half Day Private Tour: See Sydney Opera House and Bondi
★ 5.0 · 123 reviews - Private Sydney Tour Including Sydney Opera House, Bondi and Manly
★ 5.0 · 64 reviews
The price: what $650 per person is really buying
Let’s talk value plainly. $650 per person is not a budget fare. You’re paying for a private guide, a late-model vehicle, and door-to-door pickup and drop-off at a location of your choice. You’re also getting a flexible itinerary that can be adjusted to your pace and interests, rather than being pushed through fixed stops.
There’s another value angle: many of the landmark stops listed are effectively low-friction because admission is free at the points of interest on the route. That means your money goes toward the guidance and the transport, not a stack of entry fees.
Where you should be thoughtful is food. The tour doesn’t include meals or drinks, so plan for breaks outside the itinerary. Bondi Beach is where you’ll probably want to grab coffee or ice cream, since the plan is built for that kind of casual pause. If you’re the type who wants planned lunches and included drinks, you’ll be happier budgeting for them separately.
Riding the highlights loop: The Rocks, CBD icons, and the harbor-to-Bondi arc
The itinerary reads like a smart arc across the city. It starts with origins, then moves into major landmarks, then finishes with coastal views and beach time. Each part has a job, and the total timing keeps you from feeling stuck in one neighborhood.
You can choose a morning or afternoon departure, which is useful in Sydney because light changes fast. If you like softer photos, the later start can be great. If you want to get Bondi done early and still have the evening free, the morning start helps.
The vehicle pickup and drop-off at a location you choose also reduces stress. For a half-day tour, that matters more than for a full day, because you don’t have much extra time to waste.
Stop-by-stop: what each area gives you (and what to watch for)
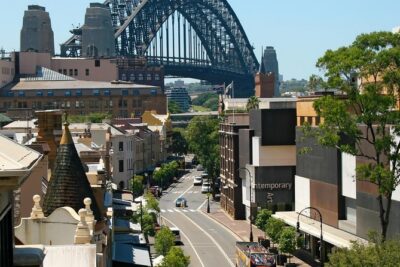
The Rocks: convict-era streets and your fast start
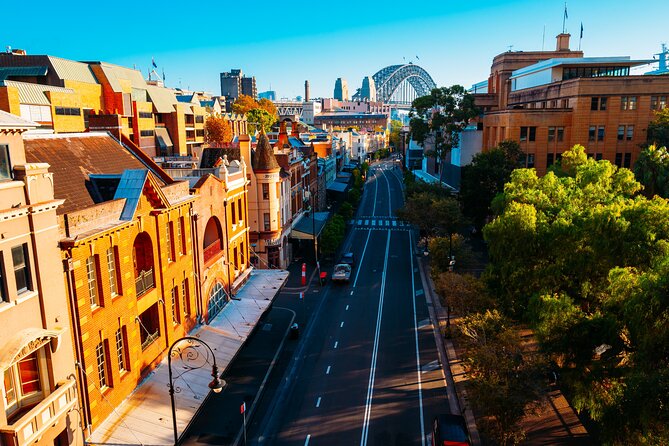
You begin in The Rocks, where the focus is Sydney’s early convict history. The stop is about 30 minutes, and it’s long enough to get oriented and understand why this neighborhood feels different from the modern waterfront.
This is also a good place to set expectations for the rest of the day. The guide can explain how the city grew from its earliest settlement patterns into the financial and cultural hub you’ll see later along Macquarie Street and around the CBD.
Tip: wear shoes you can walk in comfortably. The Rocks is the kind of area where sidewalks and slopes can vary, and you’ll want your footing for photos.
More private days with just your group


Sydney Harbour Bridge: a quick photo moment that still feels worth it
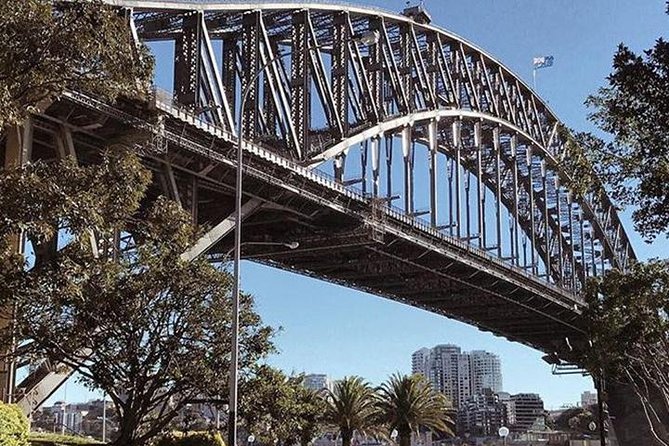
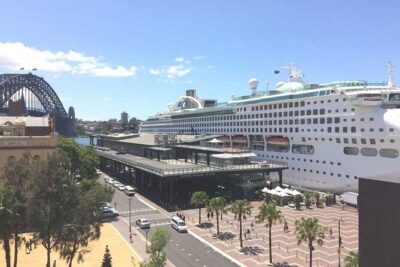
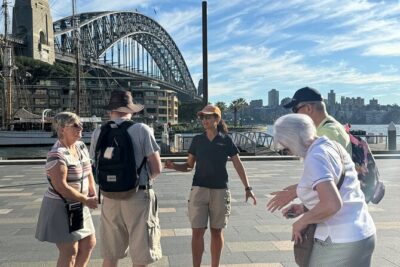
Next up is Sydney Harbour Bridge for around 15 minutes. It’s not a long stop, but it’s timed to get you the classic skyline view and a strong photo opportunity.
What makes this stop work on a half-day tour is the way it connects visually. Once you’ve seen the harbor’s shape here, you’ll notice it again from other viewpoints later—especially when you get to Opera House steps and Mrs Macquarie’s Chair.
If your group is photo-focused, this is where you’ll see the benefit of a private guide: they can manage the timing so you’re not waiting on others to take one more shot.
Macquarie Street and CBD landmarks: Queen Victoria Building plus cathedral vibes
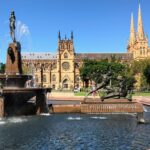
Your next segment is built around historic CBD architecture along Macquarie Street. The stops highlighted here include the Queen Victoria Building, St Mary’s Cathedral, and other prominent government buildings in the area.
This part isn’t about one single monument. It’s about perspective—how Sydney’s colonial-era planning shows up in streets, buildings, and civic space. With a short drive and viewing time, you get the big visual cues without trying to tour every building in depth.
What to watch: the CBD can be lively and moving. If you’re sensitive to crowds or noise, you’ll appreciate having someone in your vehicle and on the sidewalk helping you find manageable viewing spots.
Sydney Opera House steps: icon views plus that must-do selfie zone
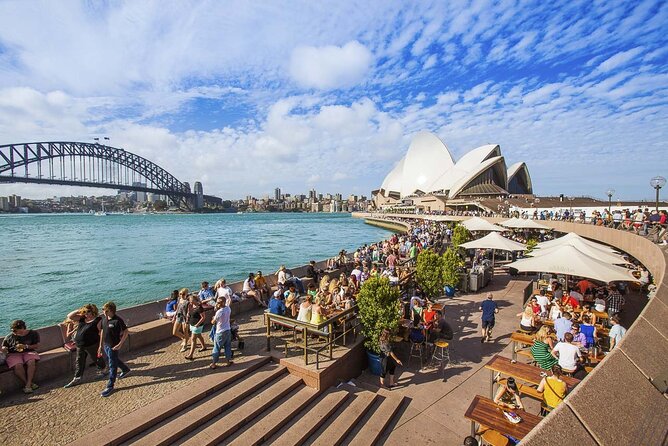
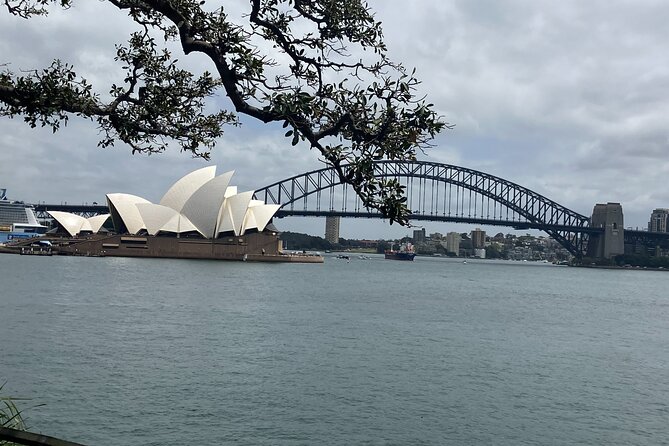
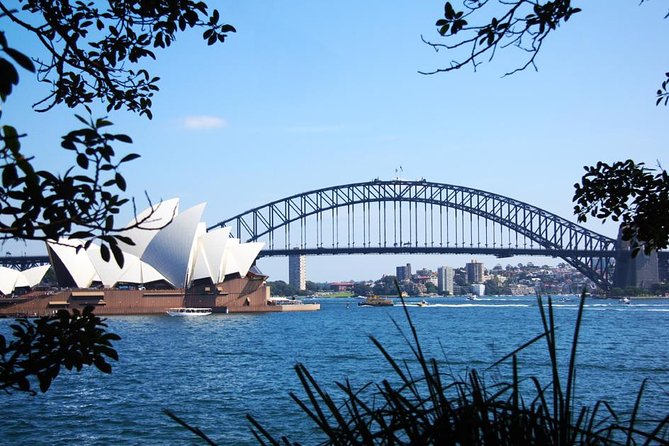
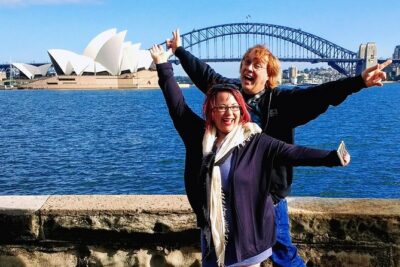
Then it’s Sydney Opera House for about 15 minutes. The plan includes walking up the steps for the classic harbor view and the selfie moment with the water and harbor backdrop.
This stop is quick on purpose. If you spend too long at Opera House early in the day, you can lose time for the viewpoints that frame it from different angles. Here, you get the signature view, then you move on while the experience is still fresh.
If you care about photos, this is a highlight for many first-timers. A private guide helps because they can guide your timing and positioning so you’re not stuck trying to fight for angles.
Mrs Macquarie’s Chair: the harbor view that feels like a postcard
After the Opera House, you head to Mrs Macquarie’s Chair for roughly 15 minutes. This is all about views. It’s a great spot to pause, look out over the harbor, and take photos with a different perspective than the Opera House steps.
What I like about putting Mrs Macquarie’s Chair in the middle of the day is that it gives you a breather after the CBD blocks. You’re more likely to enjoy the scenery rather than just collecting stops.
Again, this is where a guide can help with timing and pacing. When your group is moving at a comfortable speed, you actually look at what you’re photographing.
A bohemian suburb stop: color, character, and quick cultural contrast
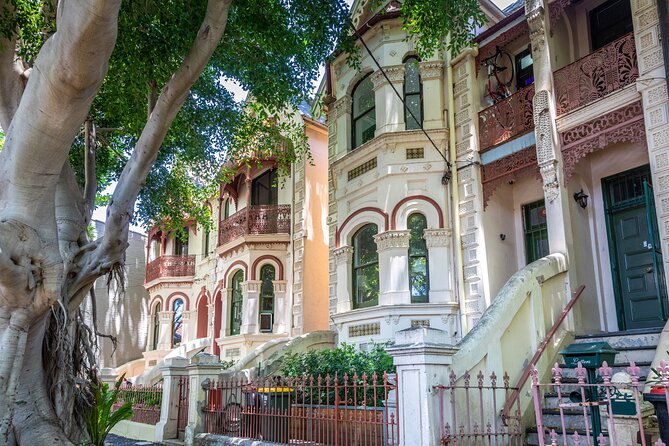
After the harbor viewpoints, the tour includes a stop in one of Sydney’s most vivacious and bohemian suburbs. The exact name isn’t given in the itinerary details you provided, but the purpose is clear: to add personality and show Sydney’s changing cultural layers.
This is a short, flexible interlude in the route. If you’re the type who likes browsing streets, noticing local style, or just switching environments for a change of pace, you’ll likely appreciate this break from purely iconic landmark viewing.
What to watch: because it’s short and the neighborhood details are light, you might want to be ready for quick walking and photo stops rather than a full neighborhood exploration.
Watsons Bay: a coastal walk that slows everything down
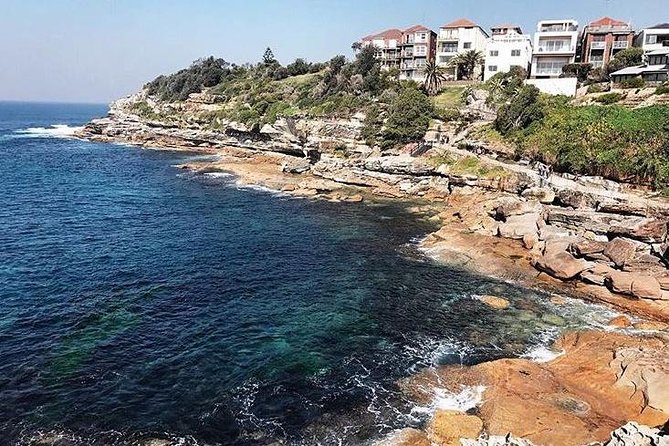
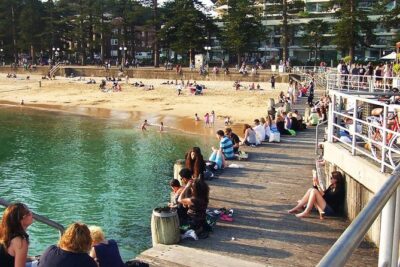
Then you move to Watsons Bay for about 30 minutes, including a short coastal walk. This is one of the best balances on the route: you get movement and fresh air, but you’re not committing to a long hike.
The harbor views continue here, but the feel changes. It’s more relaxed, and the seaside setting makes the whole day feel less like a checklist. If your group wants something a little calmer after multiple “big sight” stops, Watsons Bay is a good reset.
Tip: keep water handy and take it easy. Coastal viewpoints can be windy, and a short walk can still feel brisk.
The Gap Park: huge sandstone cliffs at the harbor’s entrance
Your next stop is The Gap Park for about 20 minutes. The focus is the dramatic sandstone cliffs at the entrance to Sydney Harbour, on the South Head peninsula.
This is where the tour adds a wow-factor without needing ticketed attractions. The cliff and lookout feel like a natural conclusion to the harbor route—especially after Watsons Bay.
If the weather is windy or wet, dress for it. Since the tour runs in all weather conditions, your comfort depends on being ready for the elements here.
Bondi Beach: toes in the water, coffee and ice cream energy
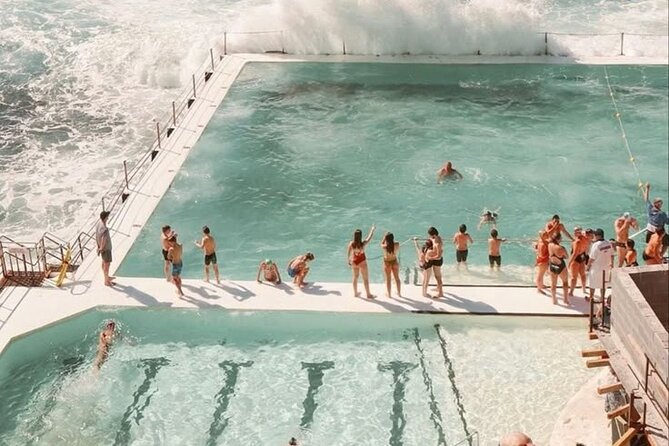
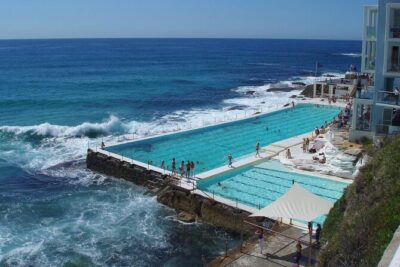
Finally, you reach Bondi Beach for about 30 minutes. The plan is simple: dip your toes in the water and enjoy Bondi at a local pace with coffee and ice cream as part of the vibe.
This last stop works well because it closes the loop from harbor to coastline. After views and sightseeing, you get a chance to relax, snack, and soak up the atmosphere.
One practical note: since food and drinks aren’t included, you’ll want a small budget for treats. If you plan to buy something, treat it as part of the experience, not an added cost you forgot about.
The guide makes the difference: Greg and Chris as examples
The tour’s strength isn’t only the route. It’s the guide style. In the names you provided from past tours, Greg and Chris come up as examples of how the experience can feel. They’re described as friendly and personable, and they focus on giving context that turns photos into understanding.
What you should look for with any guide on a private tour: the ability to keep the day moving while still explaining what you’re seeing. That’s what keeps a half-day tour from feeling rushed, even when the stops are short.
Another plus is pace. If your group has different interests—one person wants history, another wants viewpoints, another just wants enough time for photos—your guide can adjust on the fly. That’s the kind of flexibility that pays off on a compressed schedule.
Logistics that actually matter: timing, transport comfort, and what to bring
This is a 4-hour (approx.) private tour in a late-model air-conditioned vehicle. You get pickup and drop-off at a location of your choice, plus bottled water. It also runs in all weather conditions, so dress appropriately.
I’d pack with the stops in mind:
- Comfortable walking shoes for The Rocks and the coastal areas
- A light layer for breezy viewpoints (especially around The Gap and along the coast)
- Sun protection, even if the day looks mild, since you’ll be outside at multiple lookouts
- A camera or phone with enough battery for a lot of photo time
Since this is a private tour, it’s best for groups who want control over the day. It’s also “most travelers can participate,” and service animals are allowed.
Who this tour suits best (and who might want a different plan)
This tour is a strong match for:
- First-time Sydney visitors who want the highlights in a short window
- Travelers who value context and prefer a guide to help connect the dots
- Small groups that want pickup convenience and a tailored pace
- People who love views and photos but don’t want to spend hours planning logistics
It may be less ideal if:
- You’re traveling as a solo budget traveler who’s comfortable with public transport
- You expect included meals and drinks
- You want long stays at each attraction rather than short, well-timed viewpoint stops
Should you book Sydney Icons & Bondi?
If you can comfortably afford the price, I think this is one of the more efficient ways to get a strong introduction to Sydney. You’re paying for private guidance, comfortable transport, and smart timing across neighborhoods that are hard to stitch together quickly on your own.
I’d book it if you want icon landmarks plus a coherent story, not just a photo shoot. The Rocks sets the origin tone, the CBD brings in major architecture landmarks, and the end of the route gives you the harbor-to-coast feeling that makes Sydney famous.
Skip it only if your priority is spending less or you’re happy building a DIY route. But if your goal is to land in Sydney, get your bearings fast, and see the best viewpoints without stress, this tour fits the bill.
FAQ
How long is the Sydney Icons & Bondi Half Day Private Tour?
It runs for about 4 hours.
Is pickup and drop-off included?
Yes. Pickup and drop-off are offered at the location of your choice.
What stops are included on the tour?
The route includes The Rocks, Sydney Harbour Bridge, a CBD viewpoint area featuring the Queen Victoria Building and St Mary’s Cathedral, Sydney Opera House, Mrs Macquarie’s Chair, a bohemian suburb stop, Watsons Bay, The Gap Park, and Bondi Beach.
Do I need to pay for admission at the stops?
The itinerary lists admission tickets as free for the stops included.
Is food or drinks included?
No. Food and drinks are not included.
Is this a private tour?
Yes. It’s a private tour/activity, and only your group participates.
Do you operate in bad weather?
Yes. The tour operates in all weather conditions, so you should dress appropriately.
More Tours in Sydney
- Blue Mountains Small-Group Tour from Sydney with Scenic World,Sydney Zoo & Ferry
★ 5.0 · 3,709 reviews
More Tour Reviews in Sydney
- Blue Mountains Small-Group Tour from Sydney with Scenic World,Sydney Zoo & Ferry
★ 5.0 · 3,709 reviews

The Bondi Cliff Path, Continued

Fresh off the jetty: more Sydney reviews

Bondi & Coastal Walks, compared.
 ★ 4.0Big Bus Sydney and Bondi Hop-on Hop-off TourFrom $522,690 reviews
 ★ 4.9Bondi Beach: 2-Hour Surf Lesson Experience for Any LevelFrom $70935 reviews
 ★ 5.0Surfing Lessons on Sydney’s Bondi BeachFrom $71267 reviews
 ★ 5.0Sydney Half Day Private Tour: See Sydney Opera House and BondiFrom $297123 reviews
 ★ 4.4Sydney Harbour to Bondi: Small Group Half–Day ExperienceFrom $10869 reviews
 ★ 5.0Private Sydney Tour Including Sydney Opera House, Bondi and ManlyFrom $44864 reviews
 ★ 4.5Sydney Combo: Morning Sightseeing to Bondi & Harbour Lunch CruiseFrom $17661 reviews
 ★ 5.0First Timer Sydney Sightseeing & Bondi Beach 1/2 Day TourFrom $5651 reviews
Browse the lists this tour appears in