
Reviewed · TOURS
Eastern Sydney Panorama trike tour
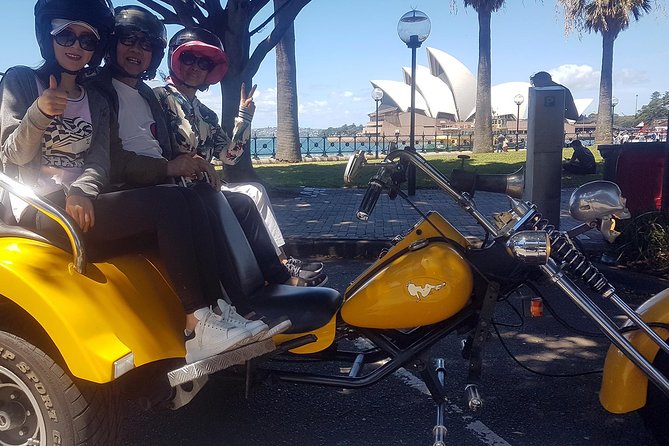
Ninety minutes, Sydney’s best views on two wheels. This Eastern Sydney Panorama trike tour is all about momentum: you get big-picture sightseeing fast, with a guide driving while you enjoy the breeze and quick photo stops around Sydney Harbour, the bridge, and Bondi Beach.
I love the way the ride hits headline sights without dragging on. You’ll get a safety briefing and then a running commentary as you pass major landmarks, including stops like Jeffrey Street Wharf for bridge-and-opera views and time to take photos.
The main thing to consider is that it’s not a solo activity. The tour needs at least two passengers per trike, and it runs only in good weather (so plan for a possible date change if skies don’t cooperate).
In This Review
- Key points before you book
- Why this 90-minute Eastern Sydney Panorama tour works so well
- The ride setup: private group, safety gear, and a real guide up front
- Pickup to first views: Botanical Gardens, Government House, and Harbour angles
- Riding the Harbour Bridge: Jeffrey Street Wharf and the under-bridge moment
- Macquarie Point: sweeping harbour views and a specific story moment
- Kings Cross by day: what you actually get from a drive-through
- Bondi Beach photo stop: how to use 10 minutes well
- Price and value: what $152 buys you in Sydney
- Who this Eastern Sydney Panorama trike tour is best for
- Should you book this trike tour?
- FAQ
- How long is the Eastern Sydney Panorama trike tour?
- What’s included with the tour price?
- Is this tour private?
- What are the minimum age and passenger requirements?
- Does the tour include Sydney Harbour and the Harbour Bridge?
- What if the weather is poor or I need to cancel?
Key points before you book
- Private-group format: only your group rides, so you’re not squeezed into a big tour shuffle
- Harbour Bridge, up close and personal: you ride over it, then continue under it for a fresh angle
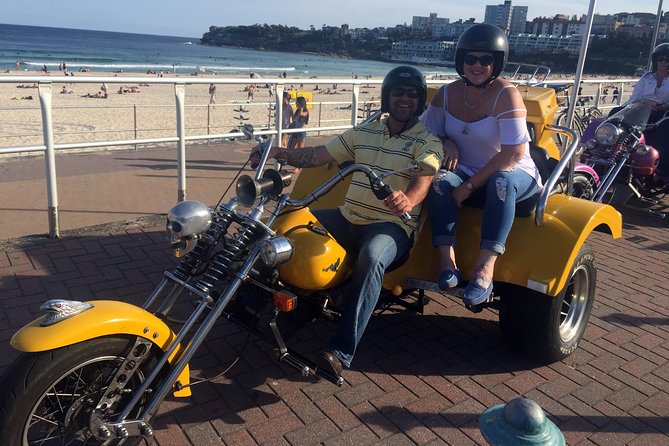
- Photo-focused stops: Jeffrey Street Wharf and a Bondi Beach photo stop are built in
- Guide-led commentary: Craig and Fred are specifically called out for clear explanations and friendly, helpful guiding
- Harley option: you can request a Harley-style ride if you’d rather not be on the trike
- Age and weather matter: minimum age is 9, and the experience depends on good weather
Why this 90-minute Eastern Sydney Panorama tour works so well
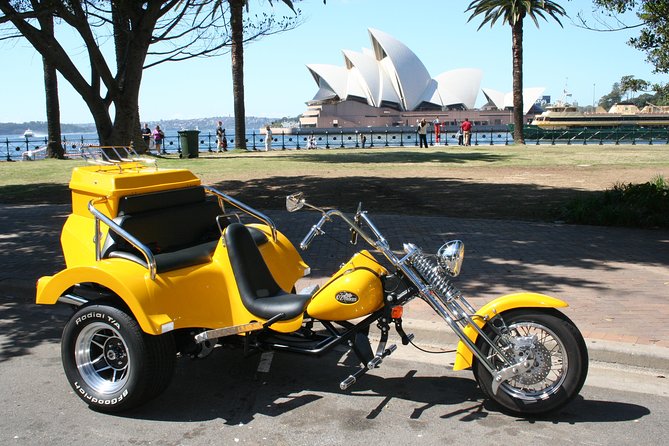
Sydney can be a lot. Traffic, parking, and scattered viewpoints can make even simple sightseeing feel like a mini project. This tour solves that by focusing on one tight loop in Eastern Sydney, built around the places you came for: Sydney Harbour, the Sydney Harbour Bridge, the Sydney Opera House area, and Bondi Beach.
You’re not standing around waiting for buses or trying to “optimize” a day with multiple rideshare hops. The pacing is designed for your attention span: ride, stop, quick photos, ride again. If you want the highlights without losing your morning to logistics, this is a strong match.
And there’s a practical, sensory bonus. Being on the trike means you feel the breeze. On a clear day, it turns sightseeing into something more like flying at street level than museum-style travel.
Weighing this one up? Here is how it sits against a few Sydney favourites:
- Sydney: Opera House Guided Tour with Entrance Ticket
★ 4.8 · 8,312 reviews - All Inclusive Blue Mountain,Scenic World,Lunch,Koalas,ferry
★ 5.0 · 7,832 reviews - From Sydney: Blue Mountains Full-Day Trip
★ 4.5 · 4,471 reviews - Sydney Opera House Official Guided Walking Tour
★ 4.5 · 3,770 reviews
The ride setup: private group, safety gear, and a real guide up front
This is a private tour, meaning only your group participates. That matters more than it sounds. A private format keeps the vibe calmer, and it’s easier to ask questions without feeling like you’re interrupting a conveyor belt of strangers.
Before you head out, you’ll get safety equipment fitted and explained. In the reviews, the guides are repeatedly praised for being patient with first-timers. Even if you’re not a motorcycle person, you’ll get what you need before the driving starts, and you won’t be left guessing.
The driver-guide is the other half of the value. Two names show up again and again: Craig and Fred. Both are described as friendly, professional, and strong at explaining what you’re seeing as you go. That’s huge on a route like this, because some landmarks are brief passes. A good commentary turns those moments into something that sticks.
One more option: Harleys can be provided if you prefer that style. The tour is marketed as a trike experience, but having a Harley alternative gives you flexibility if you’re picky about the ride feel.
Pickup to first views: Botanical Gardens, Government House, and Harbour angles
The tour typically starts with pickup from a prearranged place, then you roll toward Sydney Harbour. One early highlight is the approach past the Botanical Gardens, where Government House is situated. Even if you’re not stopping there, you’re still getting the geography: where the city frames the water and how viewpoints stack up along the harbor edge.
As you travel, you’ll pass spots with standout views of the Sydney Opera House and the Harbour Bridge. This kind of “moving viewpoint” is great when you’re short on time. You don’t just see the landmarks—you see them in relation to each other, which is how you start understanding Sydney’s layout.
A small, smart detail in the itinerary design: it’s not only about the famous buildings. It’s also about setting your orientation so later stops make more sense. When you reach the first official photo moment, you’ll already know what you’re looking at and why it’s iconic.
Riding the Harbour Bridge: Jeffrey Street Wharf and the under-bridge moment
The big wow moment is crossing the Sydney Harbour Bridge. The route includes riding over the bridge, and yes, it’s the kind of thing where your brain briefly goes quiet because the scale is hard to process.
Then comes Jeffrey Street Wharf, where you get a classic Harbour photo setup: views across Sydney Harbour toward the Opera House and the CBD, plus another perspective on the bridge. You also get time to take pictures, and the stop is clearly built for photos.
After that, the experience keeps paying off with a second bridge angle: you continue on and ride under the Harbour Bridge. That shift is more than scenic. It changes the feeling from landmark-to-landmark sightseeing into something more like being part of the infrastructure. If you’ve only seen the bridge from land or from a boat, the under-bridge view is a different world.
Drawback to keep in mind: you’re on a moving vehicle for a lot of the experience. If you’re the type who wants long contemplation time at every viewpoint, you might feel a little rushed at the photo stops. But for a 90-minute highlights route, that tradeoff is what makes it work.
Macquarie Point: sweeping harbour views and a specific story moment
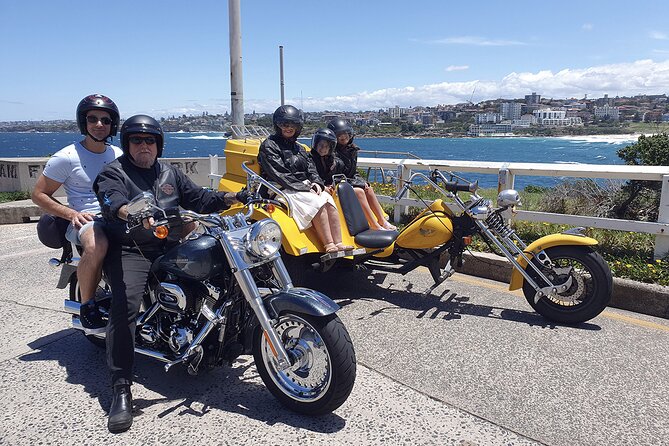
Next up is Macquarie Point, known for those wide, postcard-style harbor views where the Opera House and Harbour Bridge line up nicely in the same frame. This is the kind of stop that gives you context: where the water opens up, where the skyline sits, and how the city’s major landmarks relate to the shoreline.
A neat detail here is that you drive past the spot where Mrs Macquarie used to sit to enjoy the view. That doesn’t turn the stop into a long historical lecture, but it gives the scenery a human anchor. It’s a reminder that people have watched these views for generations, and you’re not the first person to pause and stare.
Practical note: Macquarie Point is a visual stop rather than a hands-on activity stop. If you want it to feel like a short walk-and-explore, your time might feel short. If you want photos and quick orientation, this is the right kind of stop.

Kings Cross by day: what you actually get from a drive-through
The route includes a drive through Kings Cross, which Sydney is known for in its nightlife reputation. By day, it reads differently. You still get the sense of what the area is famous for, but you’re viewing it from the “moving map” perspective rather than standing in it for an extended look.
What I like about including Kings Cross on this route is that it keeps the tour from being purely scenic. Sydney isn’t only harbors and beaches; it has neighborhoods with their own energy. Even a quick pass can refresh your mental picture of what the city feels like beyond the postcard zones.
Consideration: because this is a drive-through, you won’t get the kind of on-the-ground browsing you’d get with a walking tour. If you’re hunting for bars, clubs, or a deeper neighborhood story, you’ll want to pair this day with something else later.
Bondi Beach photo stop: how to use 10 minutes well
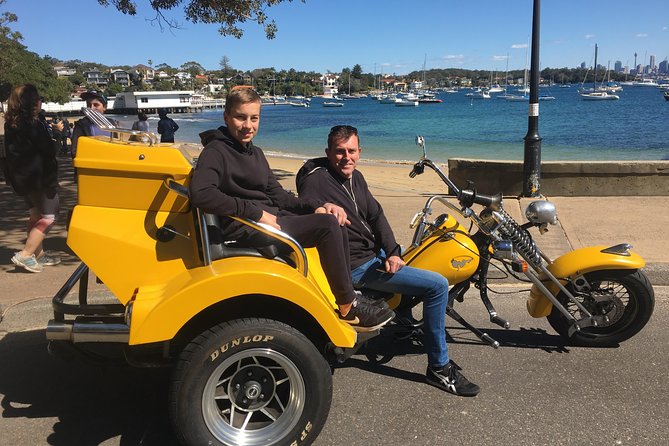
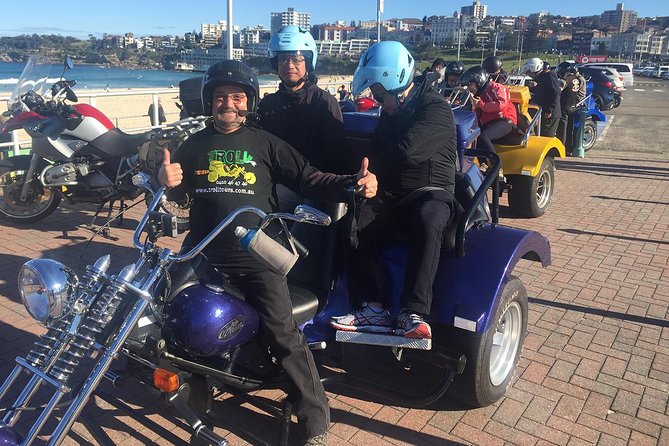
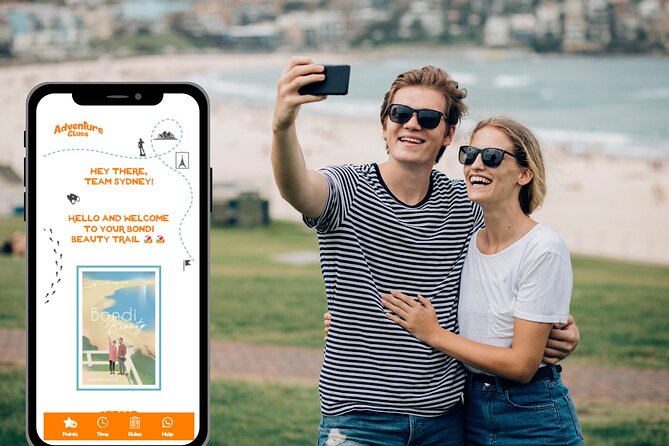
The tour ends with a Bondi Beach photo stop and includes admission for that stop. The itinerary lists it as a short stop (about 10 minutes), so the key is using it like a pro.
Here’s how to make those minutes count:
- Pick your photos first (harbor-side view angles can be different from the ocean-side ones)
- Take a wide shot early, then do a second round closer to your preferred spot
- If you want a quick snack or drink, plan for it outside the photo moment so you don’t lose your best light
Even though the stop is brief, it matters because Bondi Beach is one of those places that people talk about in such big terms that you need at least one direct look. A fast photo stop is the right compromise for a tour that also includes the bridge and harbour.
The bigger question isn’t whether you’ll get time to “do Bondi.” It’s whether you’ll get the right Bondi look to satisfy your curiosity. This tour gives you that.
Price and value: what $152 buys you in Sydney
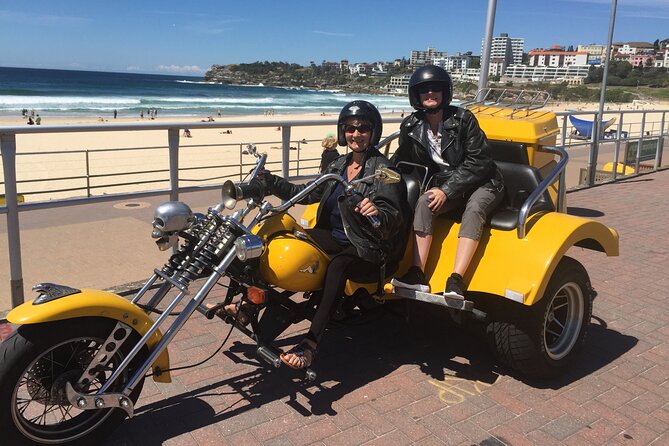
At $152 for about 1 hour 30 minutes, you’re paying for three things that are hard to replicate on your own without effort:
1) A guided route that strings together Sydney’s major highlights in one loop
2) A vehicle ride that makes viewpoints easier than hopping across town
3) A private group experience, which is often the real value driver for families and small parties
Also, your package includes pickup offered and a mobile ticket, which reduces friction. You’re not spending your mental energy on where to meet, then fighting transport timing to see the bridge and Bondi in the same day.
One small detail that helps your sense of value: Bondi Beach includes an admission ticket for the stop, while Jeffrey Street Wharf is listed as free for admission. That means you’re not getting hit with extra fees at the stops you’re scheduled to visit.
Cost consideration: this tour requires at least two passengers per trike. If you’re traveling solo, the economics won’t be as favorable because the tour is priced and structured around having enough people to meet the seating requirement. If you’re a pair, it’s much easier to justify.
Who this Eastern Sydney Panorama trike tour is best for
This is a strong fit if you want:
- A quick Sydney highlights hit without planning a whole day of logistics
- A fun format for people who don’t want to drive in traffic or wrestle with parking
- A guided route where you get meaning behind the scenery, not just names
It’s especially good for couples, small groups, and cruise-day visitors who need to maximize time. In reviews, the communication and guide help with getting situated are called out repeatedly, which matters if you’re arriving by cruise and have limited daylight.
It may be less ideal if:
- You want long stops and lots of walking
- You’re sensitive to being on the road with a moving vehicle for extended stretches
- Your group can’t meet the minimum age (9 years) or the minimum two-passenger requirement per trike
Weather is also a factor. The tour requires good weather, so build in flexibility. If the day is shaky, consider booking with a mindset that you might adjust the date if conditions aren’t right.
Should you book this trike tour?
I’d book it if your goal is simple: see Sydney Harbour, the Harbour Bridge, the Opera House area, and Bondi Beach with a guide and zero day-planning stress, in roughly 90 minutes. The private setup, the structured photo stops, and the focus on getting you oriented fast all make it feel like a smart use of limited time.
Skip it (or at least weigh it) if you’re expecting a slow, detailed walk-through of each spot. This is a ride-and-photo experience, not a stroll-and-stay itinerary.
If you’re traveling as a pair or small group and the weather looks good, this tour offers solid value for the sights-per-minute ratio.
FAQ
How long is the Eastern Sydney Panorama trike tour?
It’s approximately 1 hour 30 minutes.
What’s included with the tour price?
The tour includes pickup offered, a private trike experience (or Harley option), and scheduled photo stops including a Bondi Beach stop where admission is included.
Is this tour private?
Yes. It’s a private tour/activity, and only your group participates.
What are the minimum age and passenger requirements?
The minimum age is 9 years. The tour requires 2 or more passengers, and each trike must have a minimum of 2 passengers (three average sized people can sit on the seat).
Does the tour include Sydney Harbour and the Harbour Bridge?
Yes. The route includes Sydney Harbour views, riding over the Sydney Harbour Bridge, a stop at Jeffrey Street Wharf for views and photos, and a drive that continues under the Harbour Bridge.
What if the weather is poor or I need to cancel?
The experience requires good weather. If it’s canceled due to poor weather, you’ll be offered a different date or a full refund. You can cancel for a full refund up to 24 hours in advance.
More Tours in Sydney
- Blue Mountains Small-Group Tour from Sydney with Scenic World,Sydney Zoo & Ferry
★ 5.0 · 3,709 reviews
More Tour Reviews in Sydney
- Blue Mountains Small-Group Tour from Sydney with Scenic World,Sydney Zoo & Ferry
★ 5.0 · 3,709 reviews

Fresh off the jetty: more Sydney reviews
Tours, compared.
 ★ 4.8Opera House Guided Tour with Entrance TicketFrom $338,312 reviews
 ★ 4.5Sydney Opera House Official Guided Walking TourFrom $343,770 reviews
 ★ 5.0Blue Mountains Small-Group Tour from Sydney with Scenic World,Sydney Zoo & FerryFrom $1613,709 reviews
 ★ 4.4Big Bus Hop-On Hop-Off Tour with Optional CruiseFrom $512,697 reviews
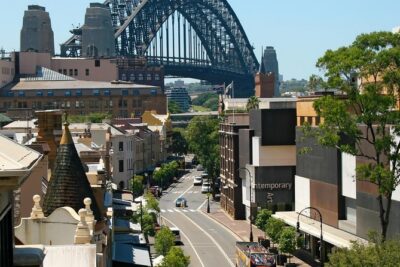 ★ 4.0Big Bus Sydney and Bondi Hop-on Hop-off TourFrom $522,690 reviews
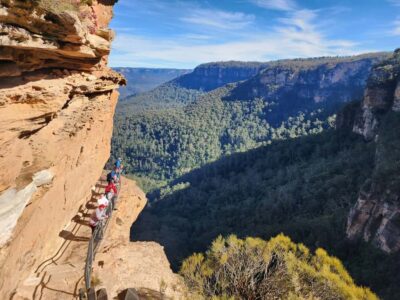 ★ 4.8From Sydney: Blue Mountains Tour with Waterfall Walk & LunchFrom $852,400 reviews
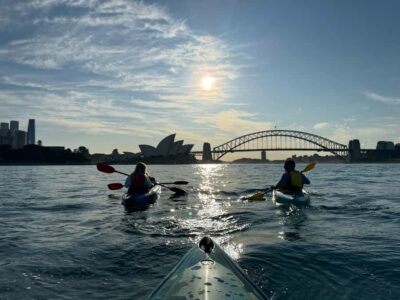 ★ 5.0Harbour Sunrise Kayak TourFrom $1191,899 reviews
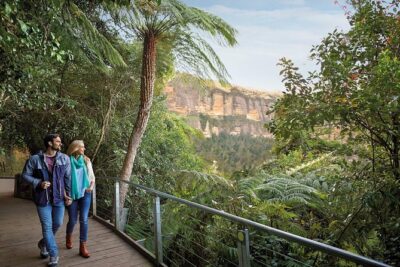 ★ 4.5Blue Mountains Day Tour Including Parramatta River CruiseFrom $681,585 reviews